Mission embedded
About the project
This was a tough one. I promised the client a lot as I was pretty enthusiastic about the project and always tried to have the deadline and the tools at my desposal in mind. Not always is everything possible, especially not in the given timeframe of such a project, so, naturally, I made a few attempts to figure out how to achieve the best result. It had to be ready in about 12 days.
Software used: Adobe After Effects, Element 3D, 3D Studio Max, Optical Flares, Magic Bullet Looks
Modeling
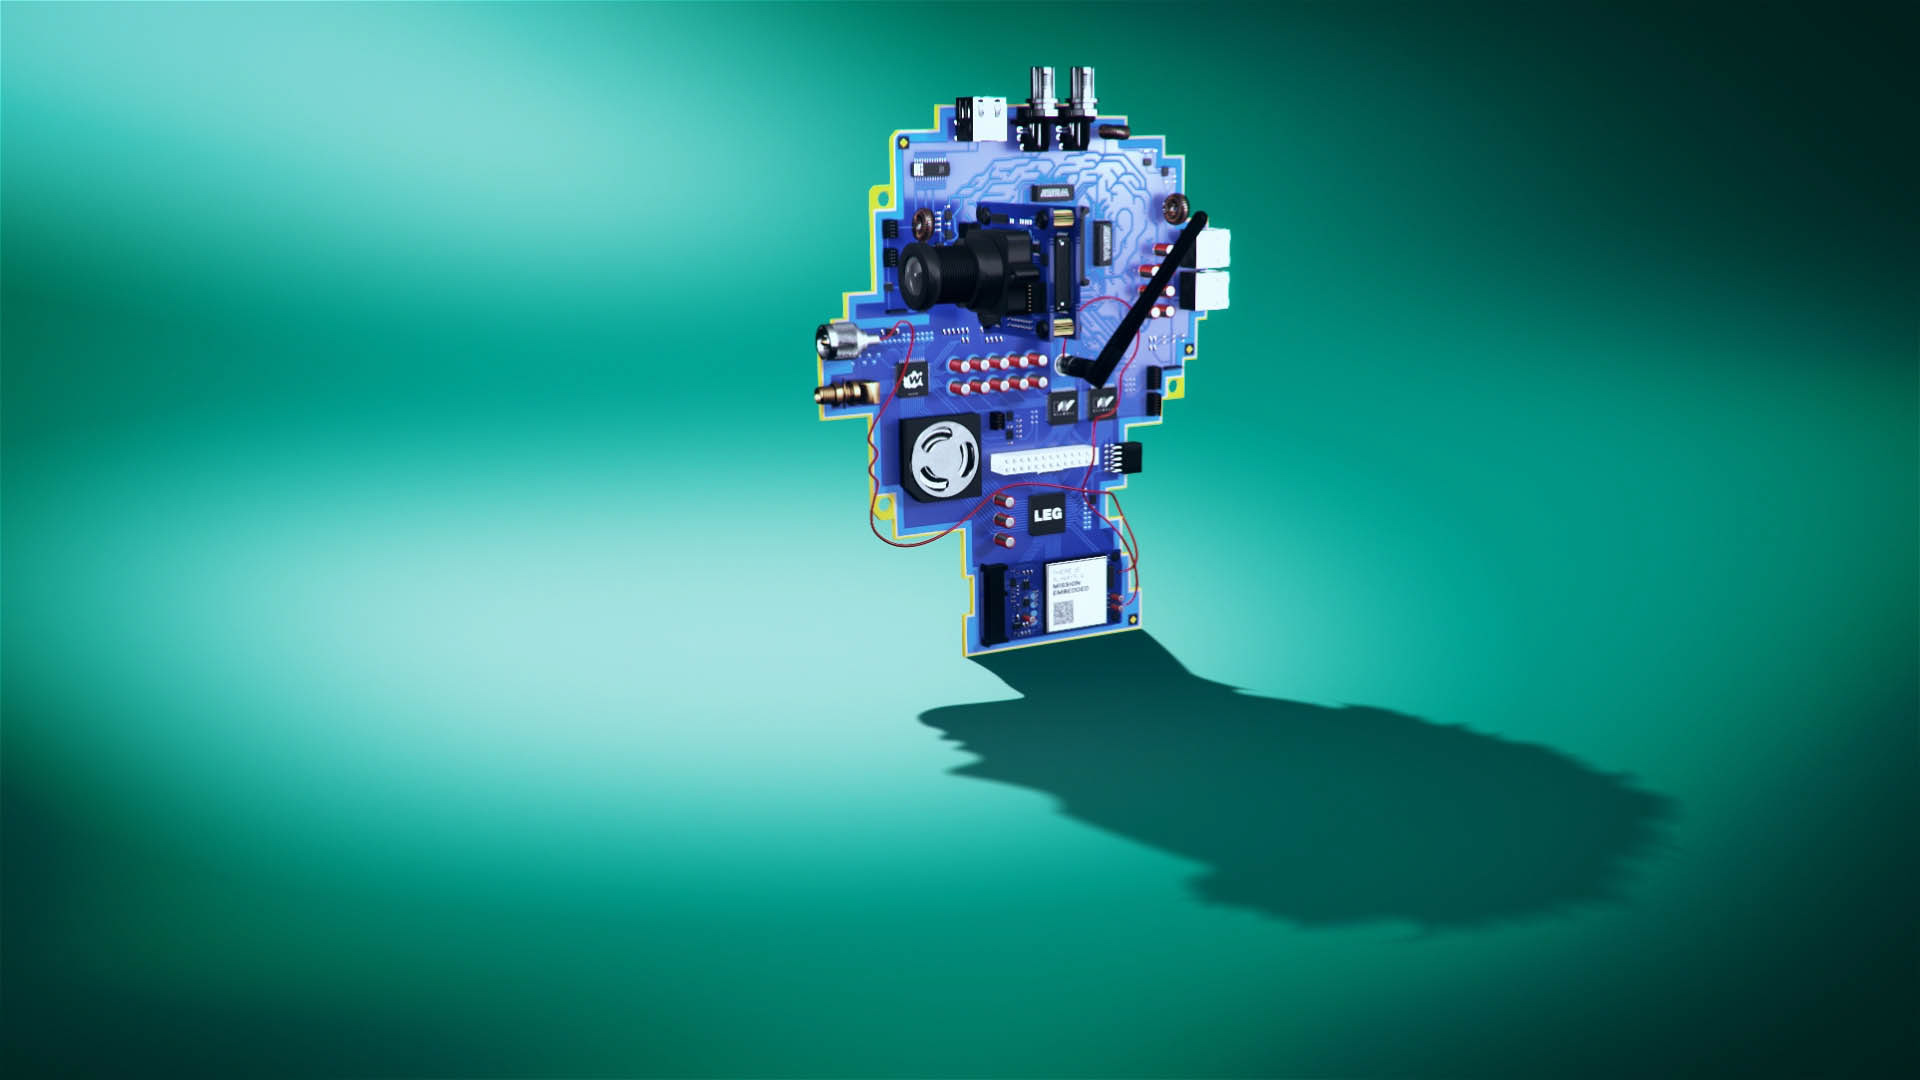
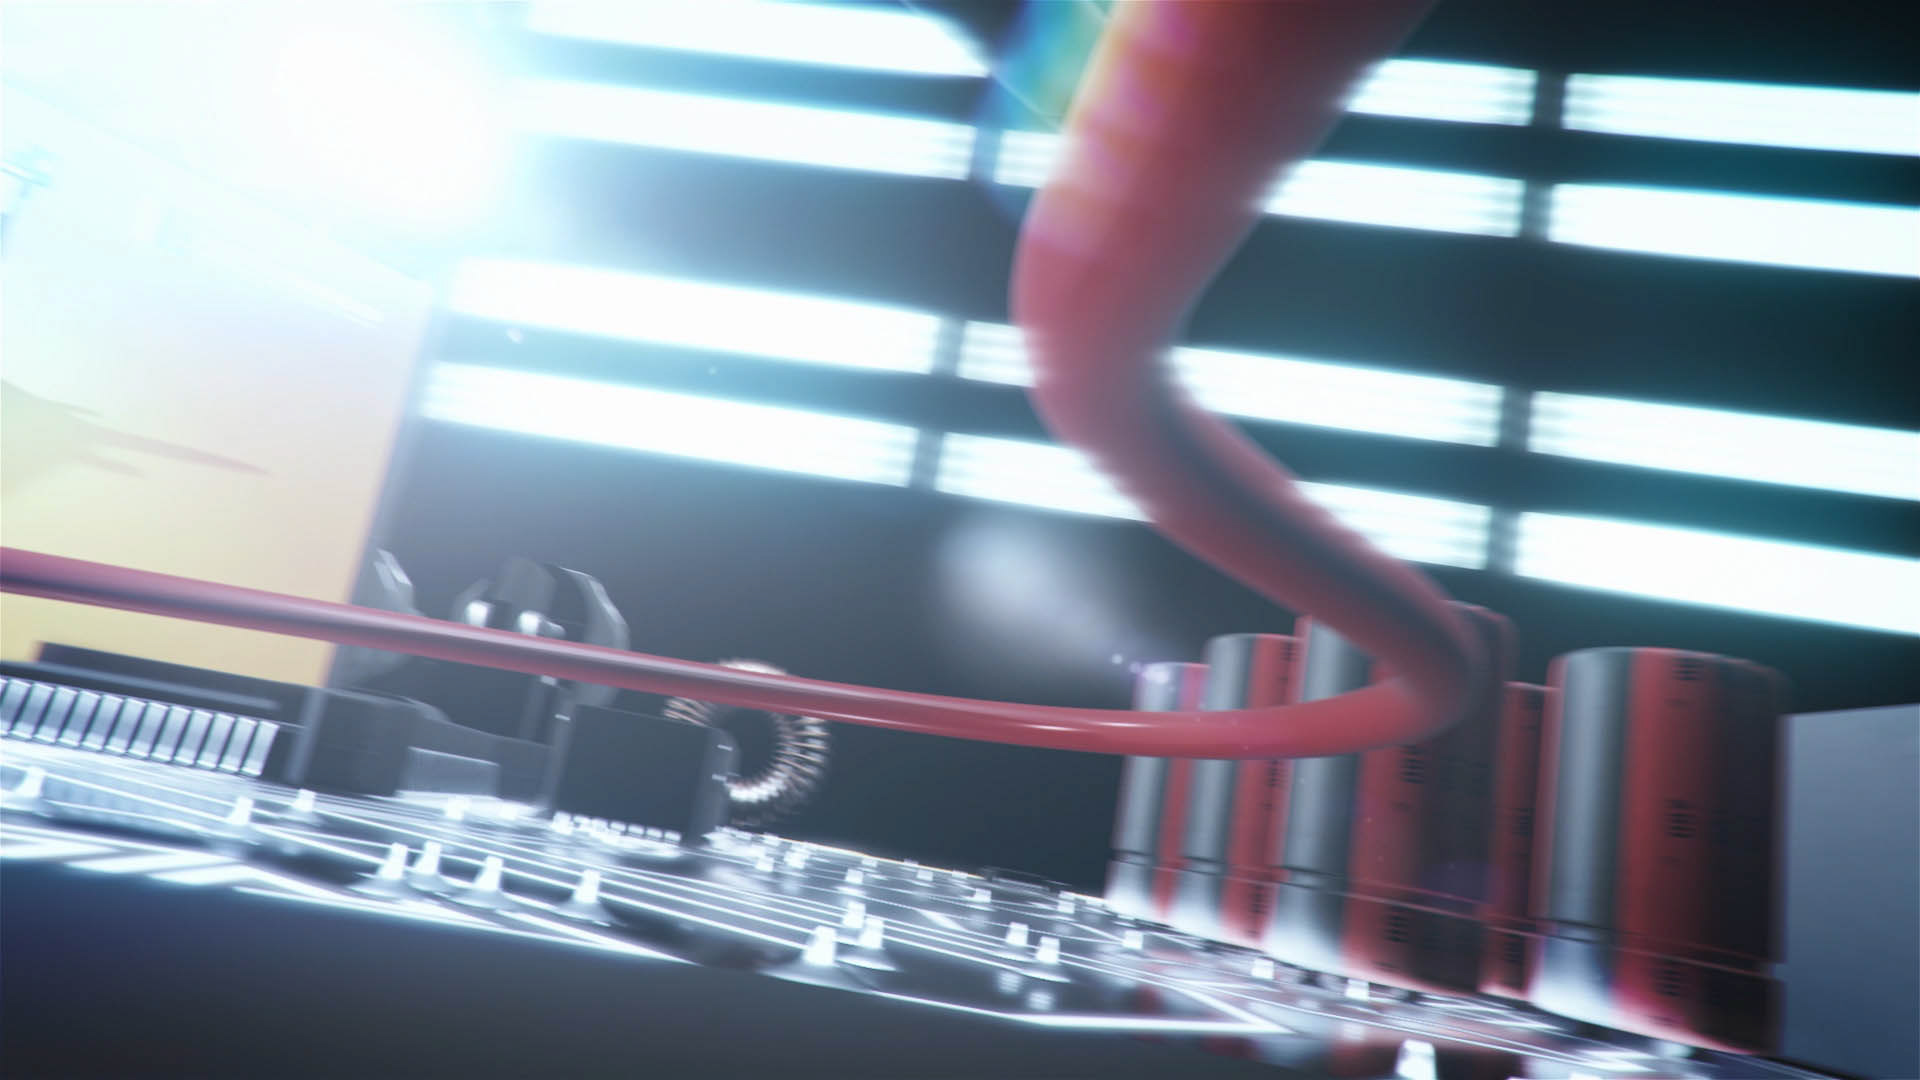
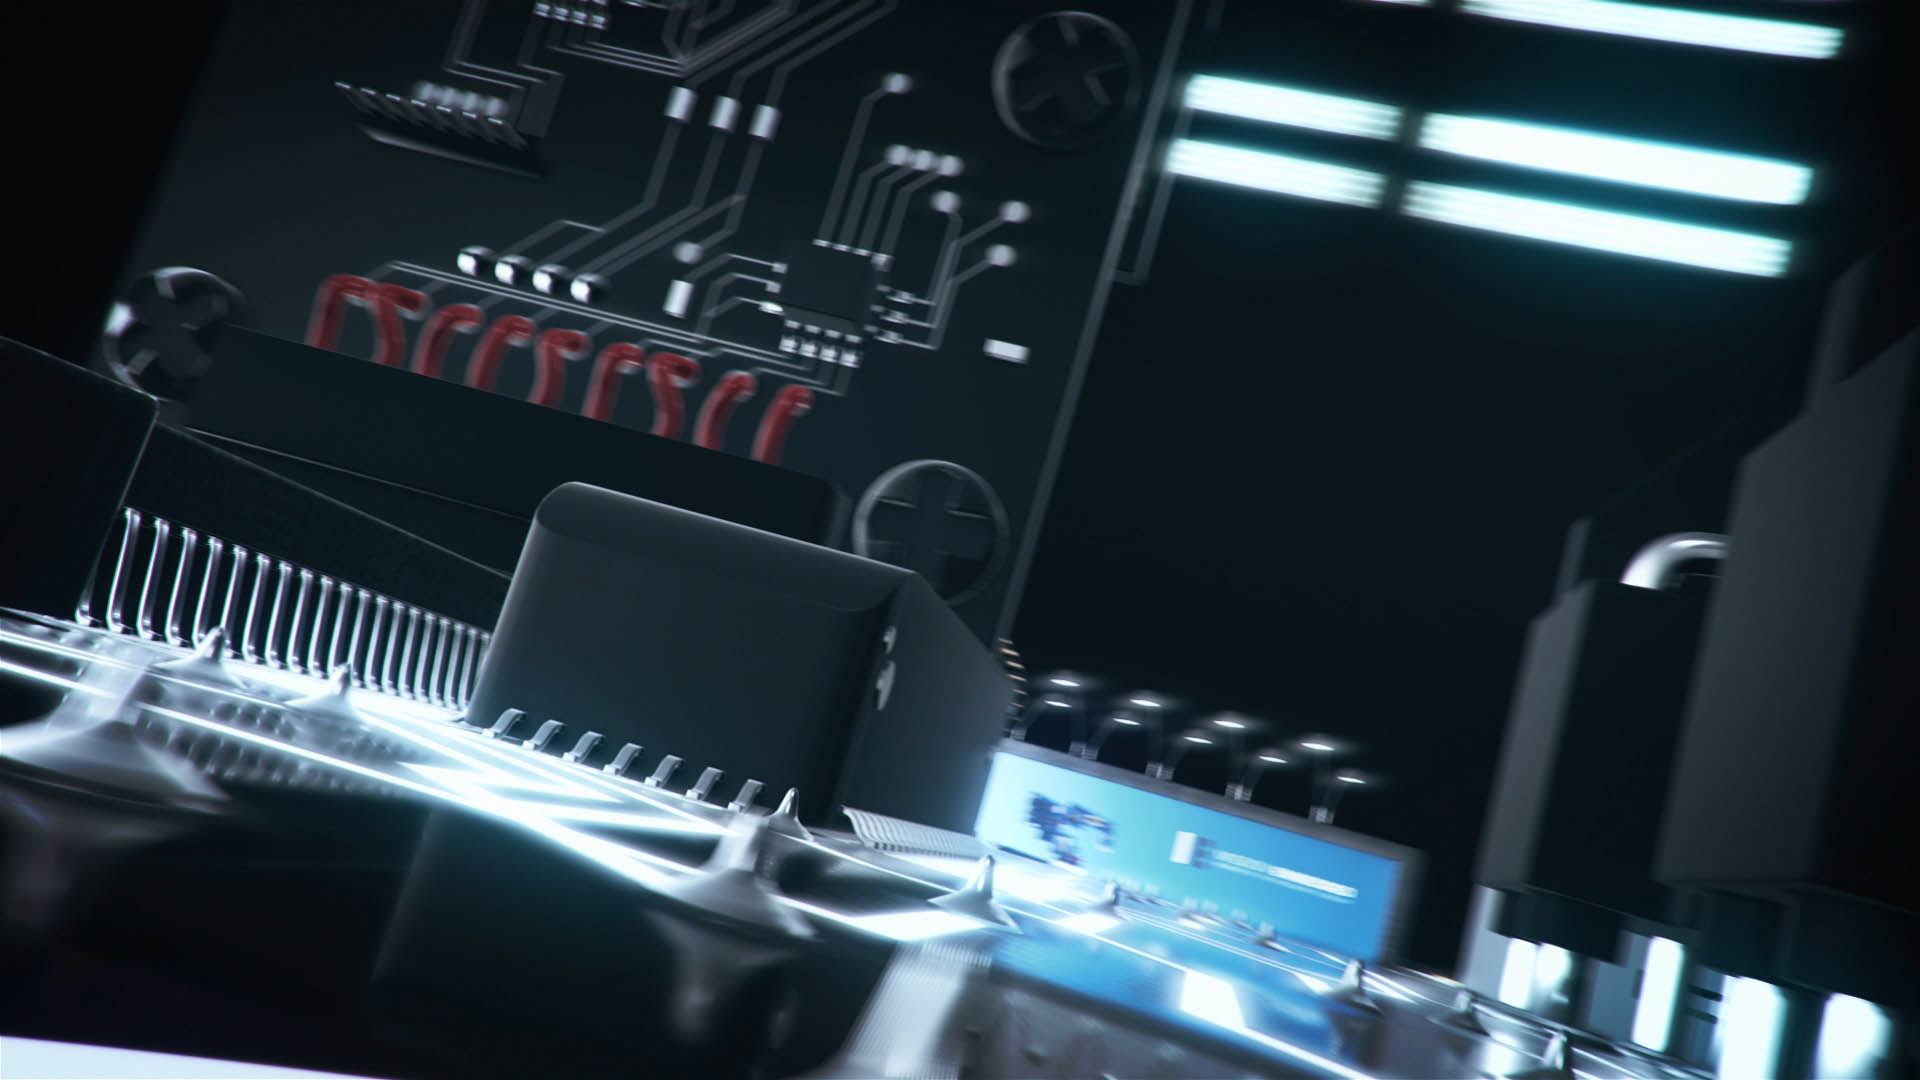
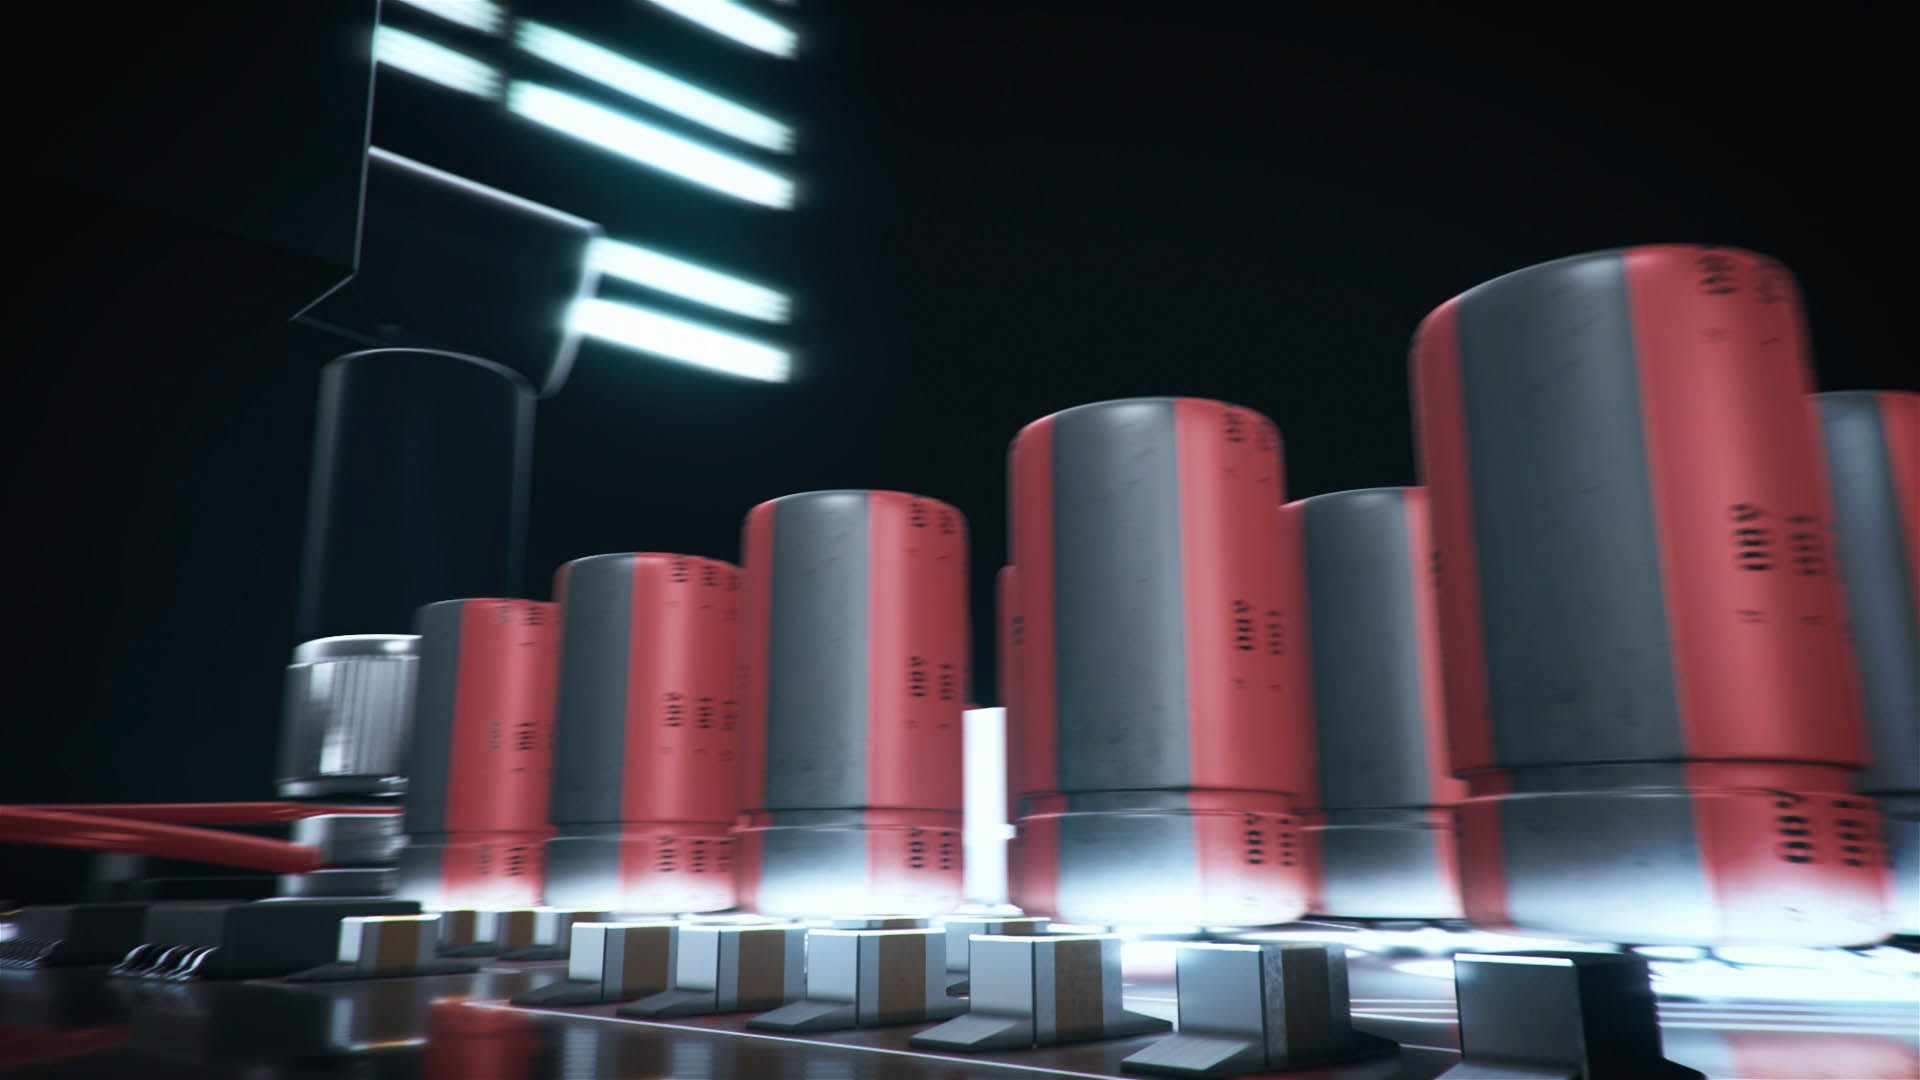
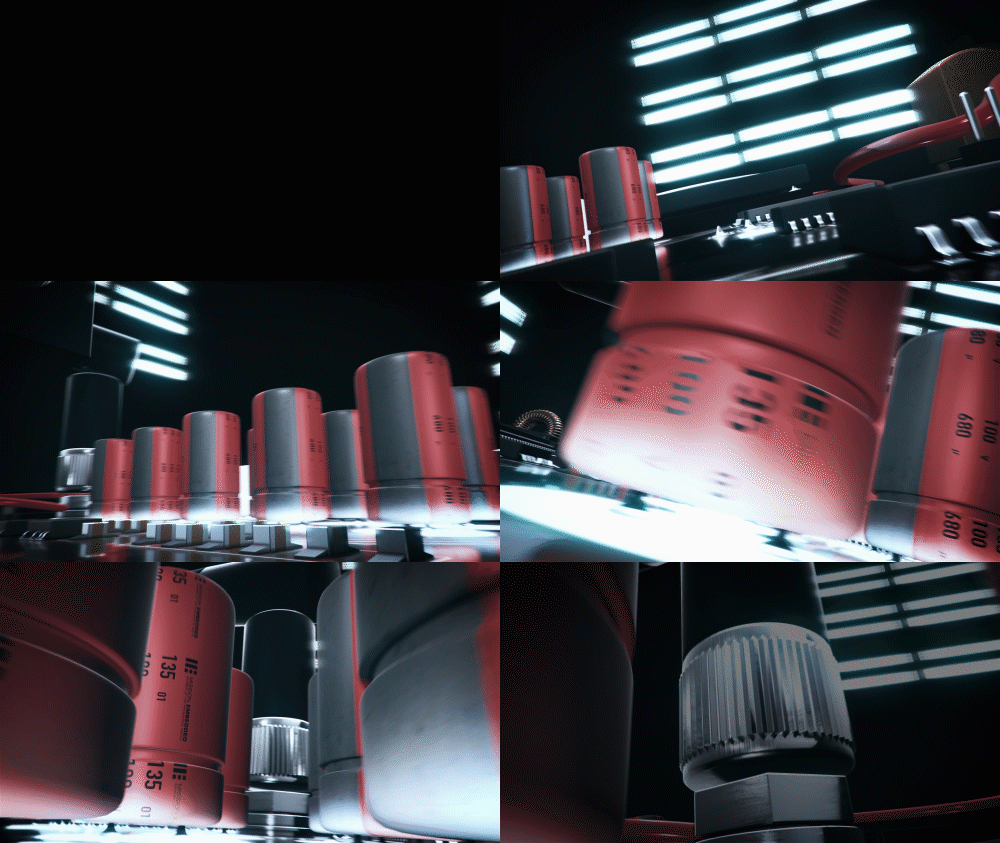
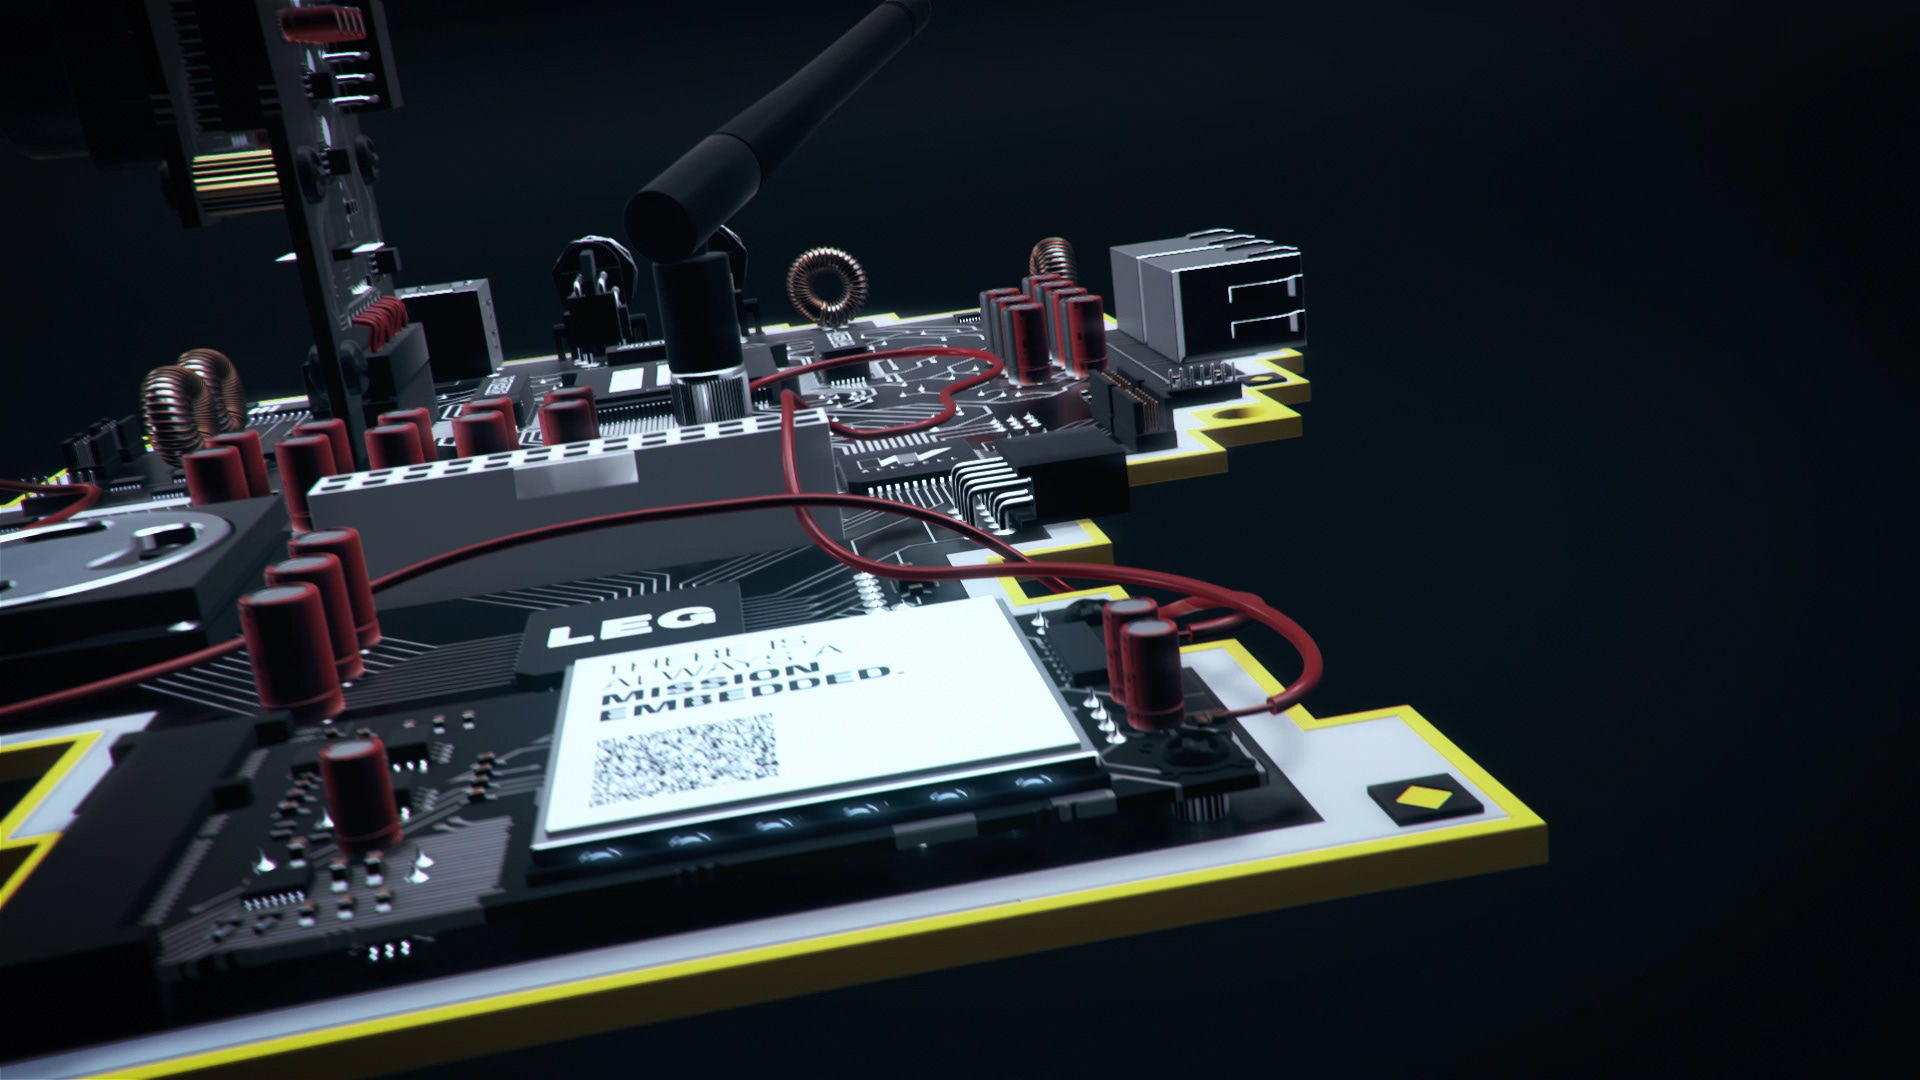
But first I had to model every little piece of this motherboard-styled human head, and I mean everything. The goal was to fly really close to all the single elements so they had to be modeled and textured fairly accurate. I modeled about 50 single pieces of electronics and put them all together in 3D Studio Max.
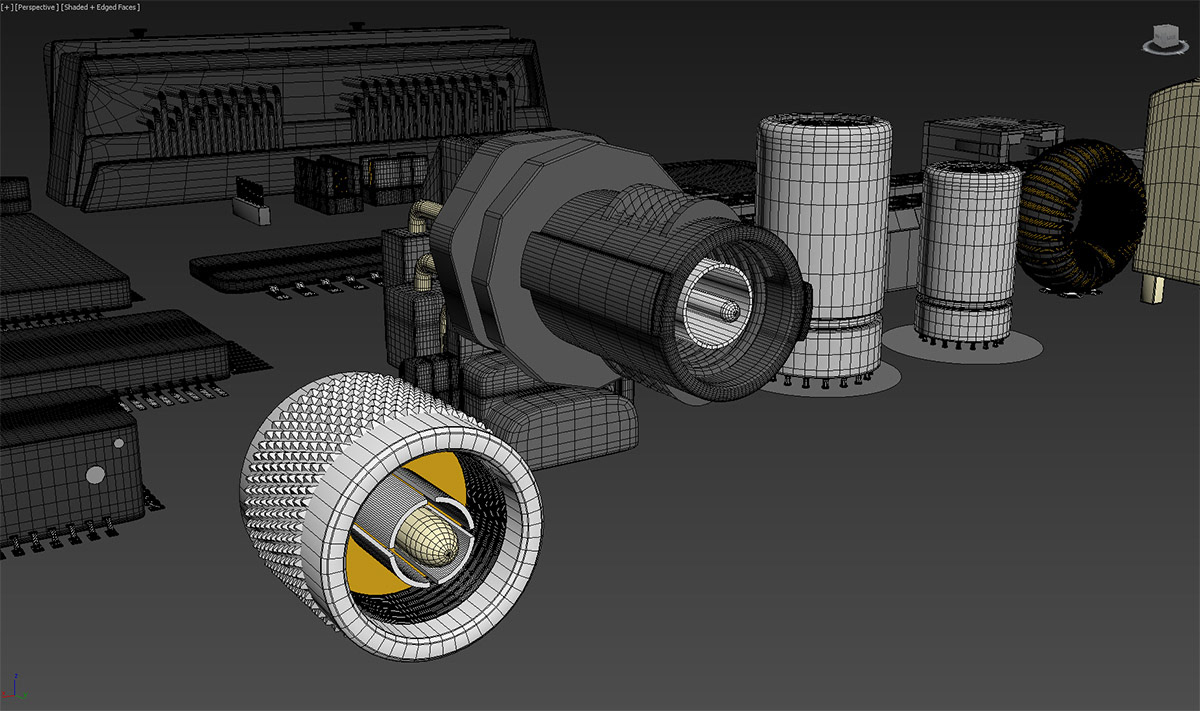
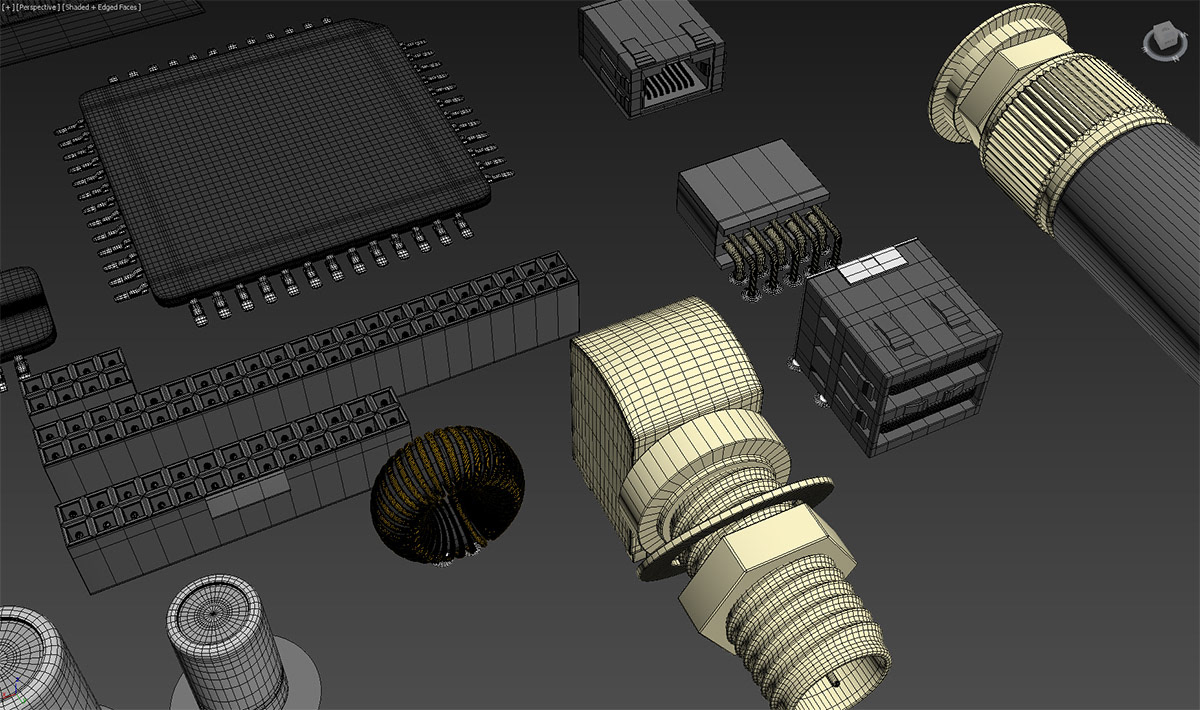
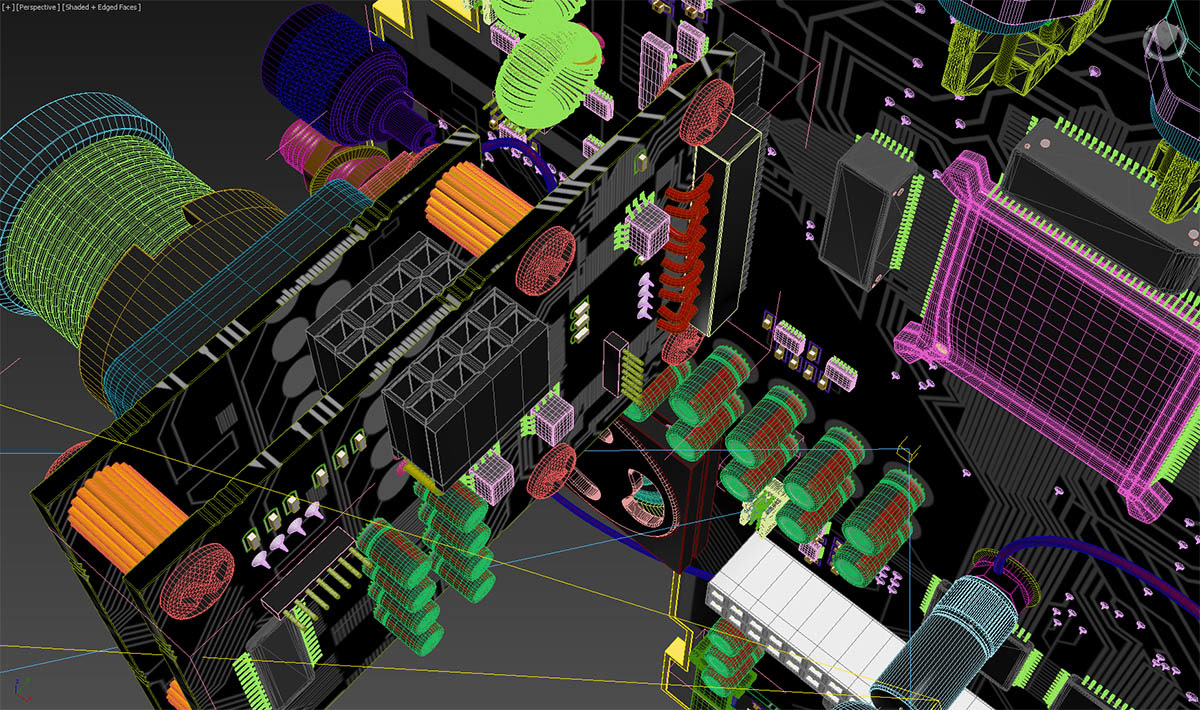
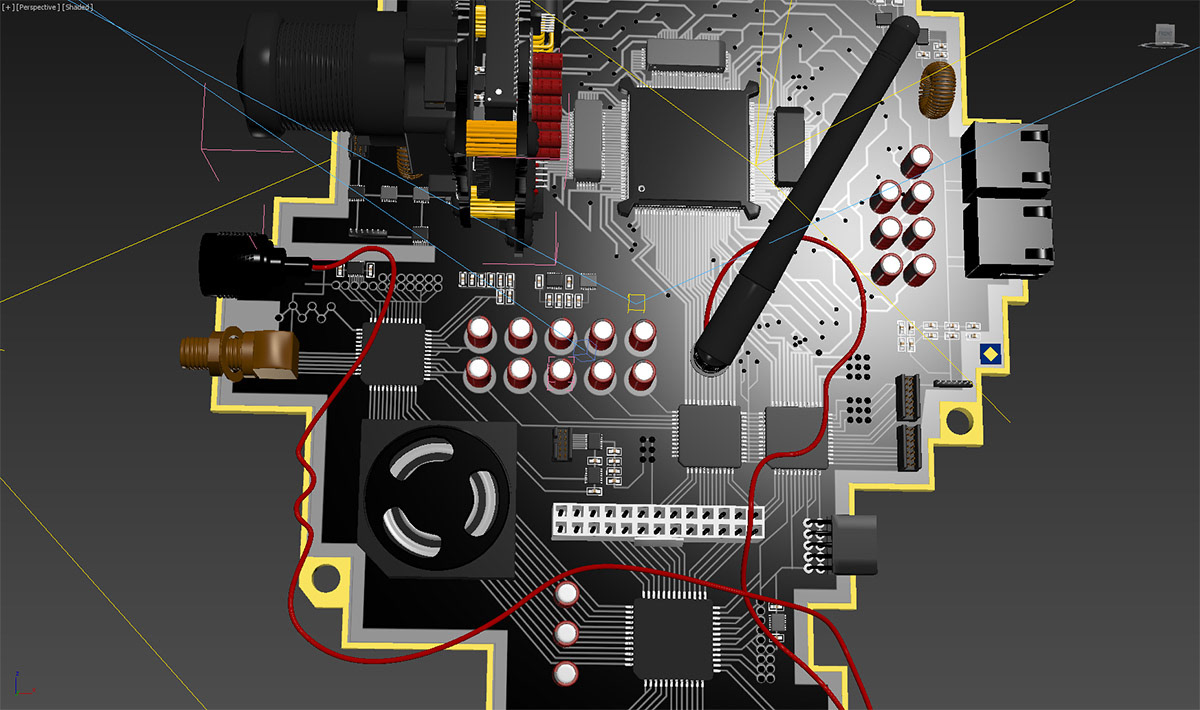
Test Setup in 3D Max
I assembled everything and started animating the camera for the flythrough. It worked smoothly at first but got more and more complicated with every corner. The thing is, if you mess up one part of the keyframe animated camera in such a program you have to render a lot of frames afterwards. As this was a test, I made a few test-renders with VRAY and ended up with slightly too long per frame times. I figured I simply couldn't do it in VRAY.
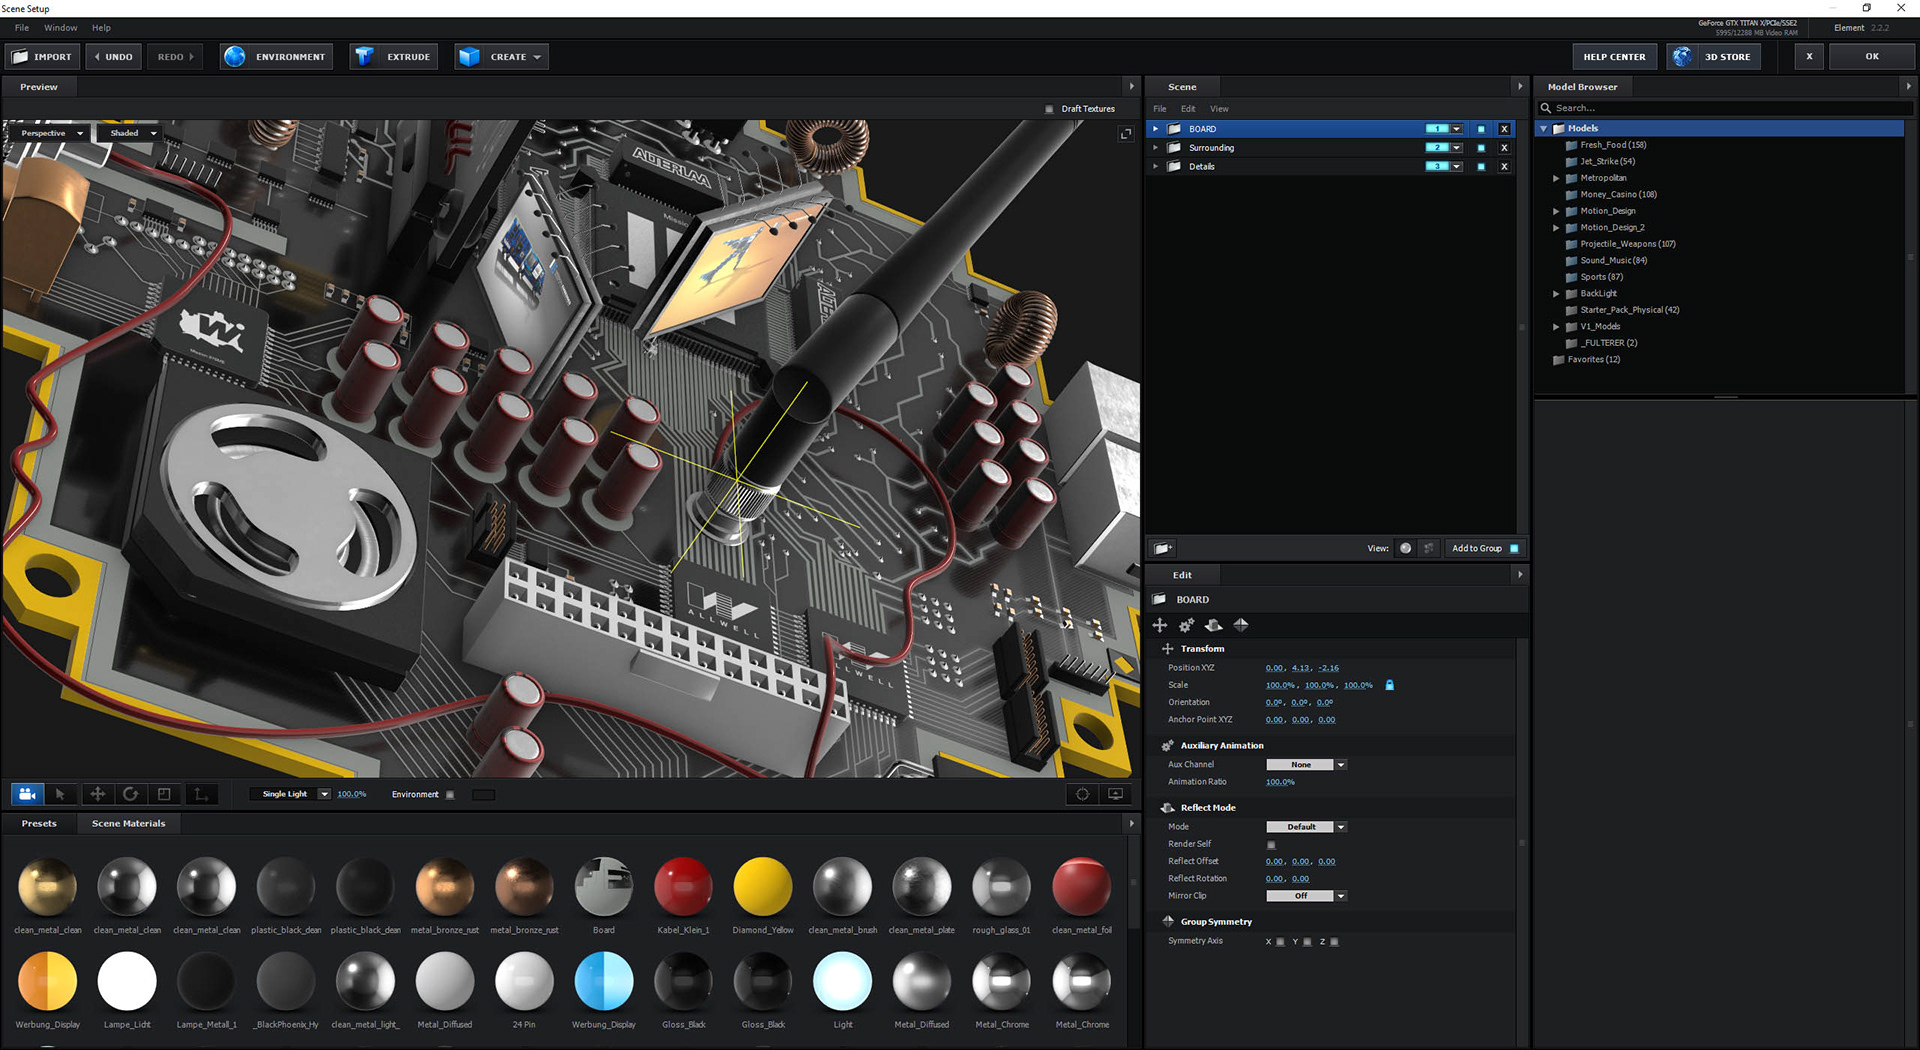
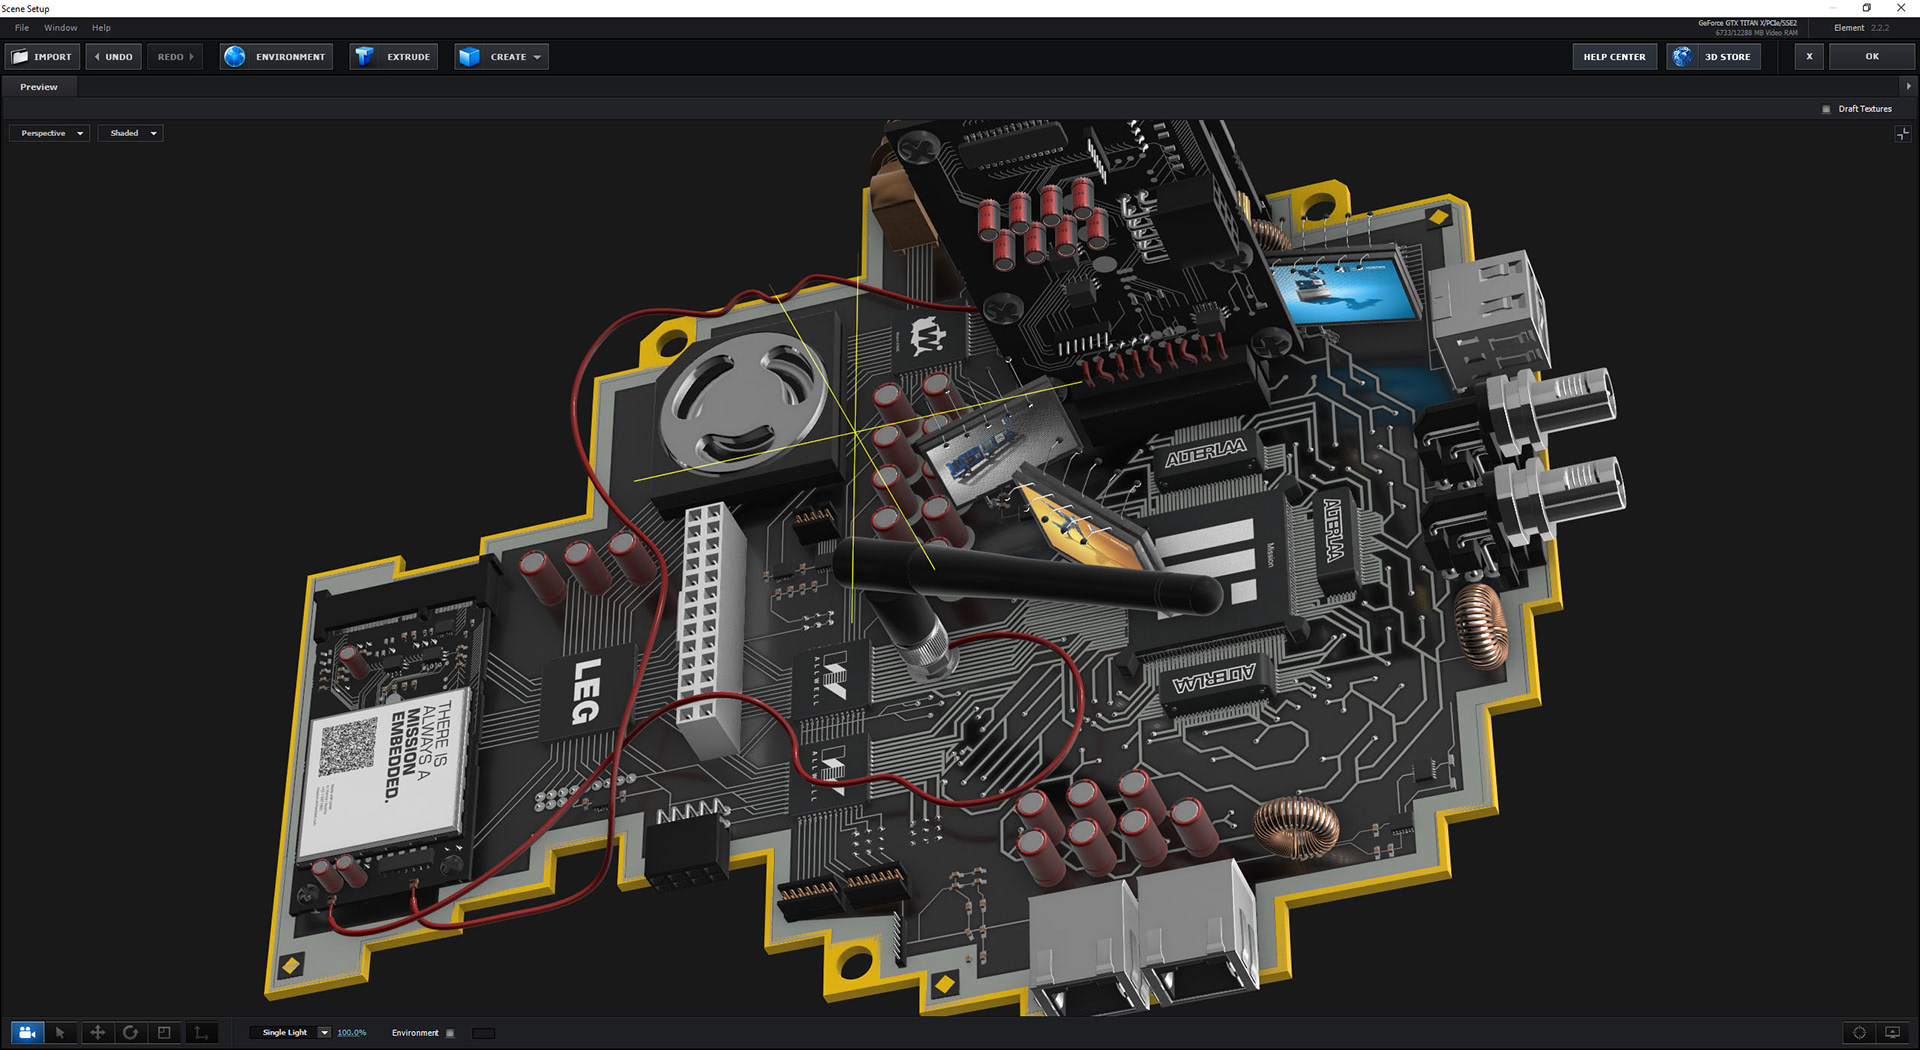
The road to element 3D
The decision was made and I brought this huge OBJ file (about 2.5 million polygons) into After Effects and started the setup with Videocopilot's Element3D. This was a tedious task at first because of the loading times of the OBJ but once it was loaded I started texturing all the elements which had to have individual textures applied first in 3D Studio Max. I used a lot of the ProShader2 shaders and mixed them with my own shaders and textures.
Extras
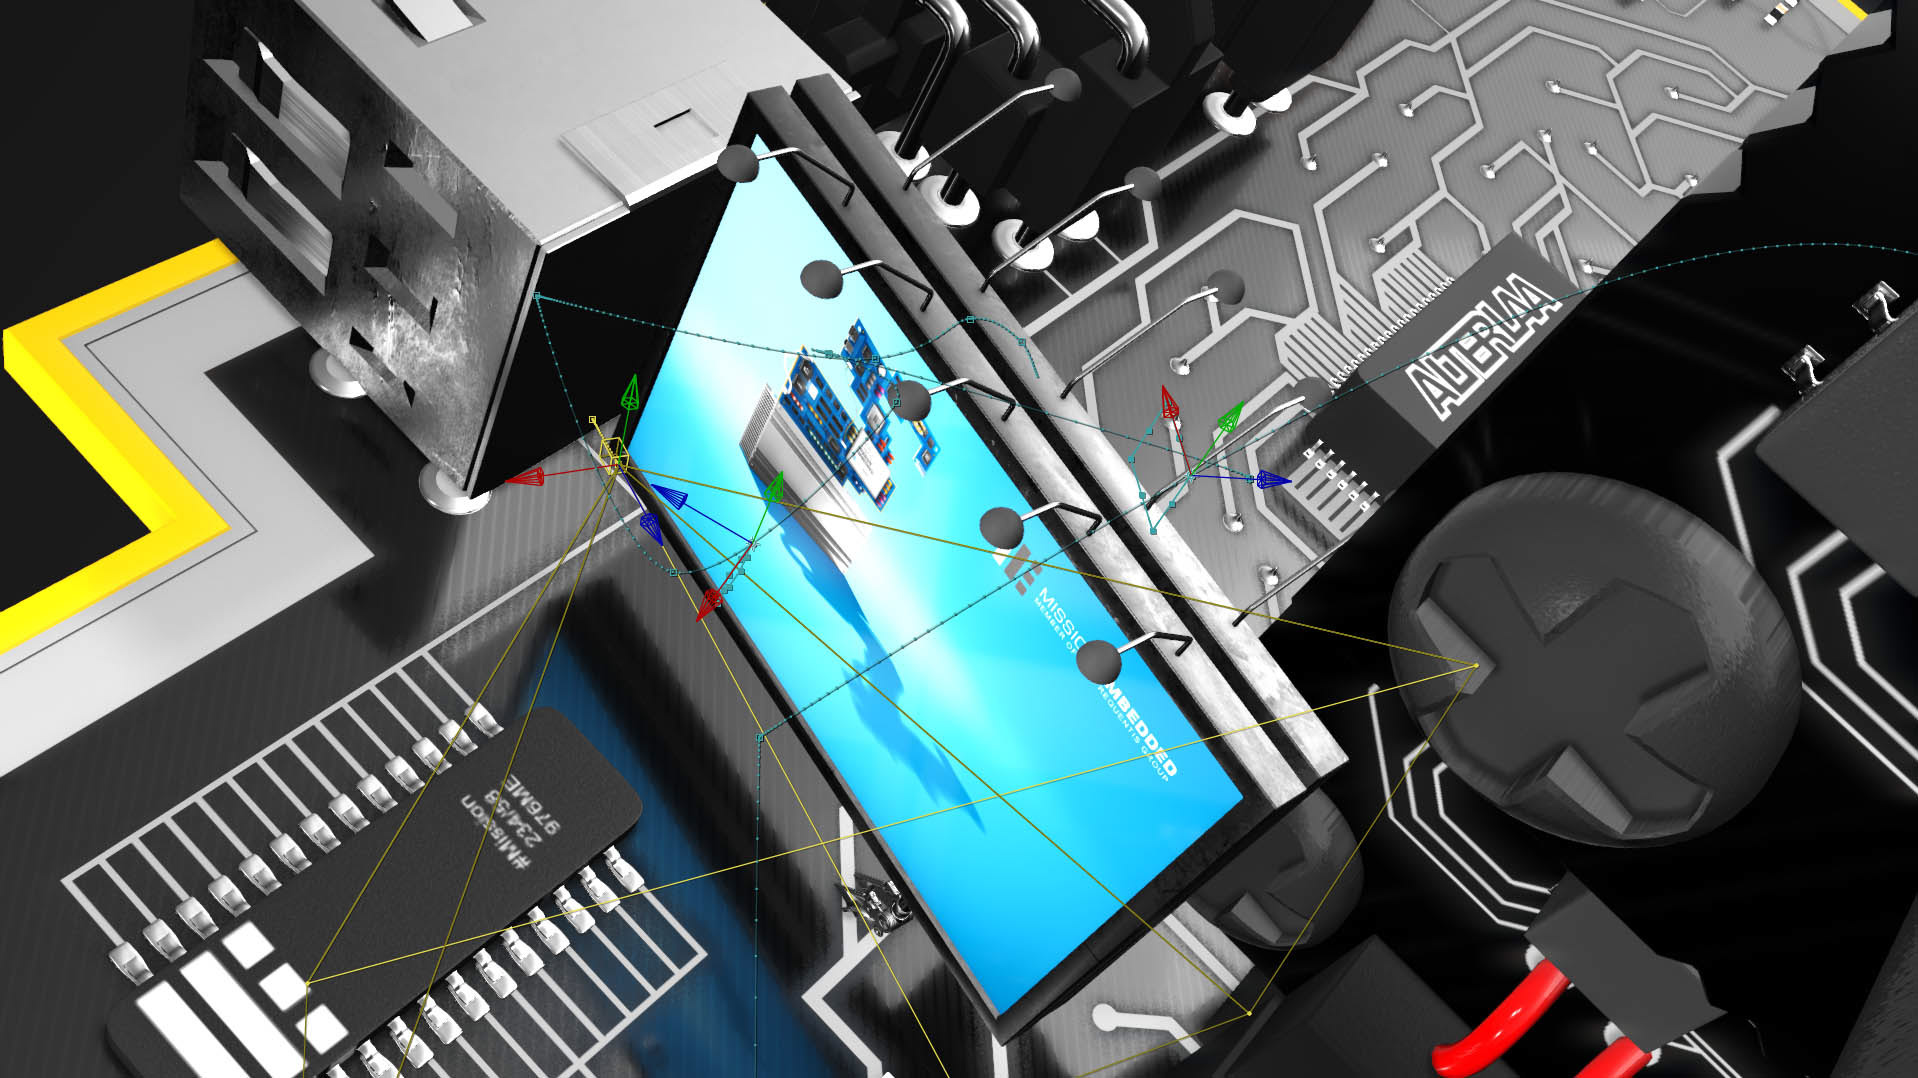
Once the model was ready I had to animate a few extra elements such as the video-screens so I brought them in from Max as well and put them on three different groups to have control over them. To bring life to the screens I used an animated comp as a illimination texture in Element and the 2D to 3D point conversion tool in Element3D to place some lights for Optical Flares to enhance the look.

Rigging the camera
I built a pretty nice-to-handle camera rig in After Effects with two dummies and a 2-knot camera which were linked together and animated separately. The preview and draft settings of Element3D allowed me to work almost in realtime and animate the rig extremely precise!

Look n' feel
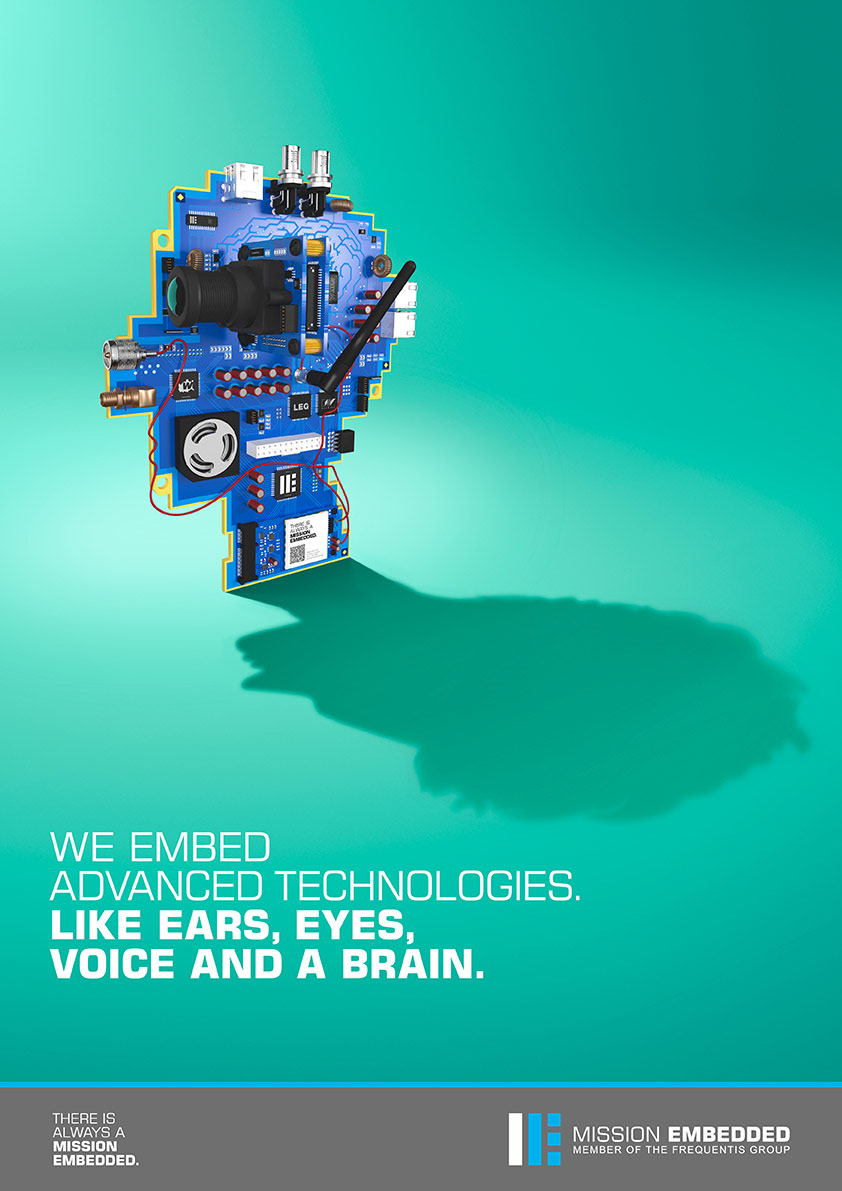
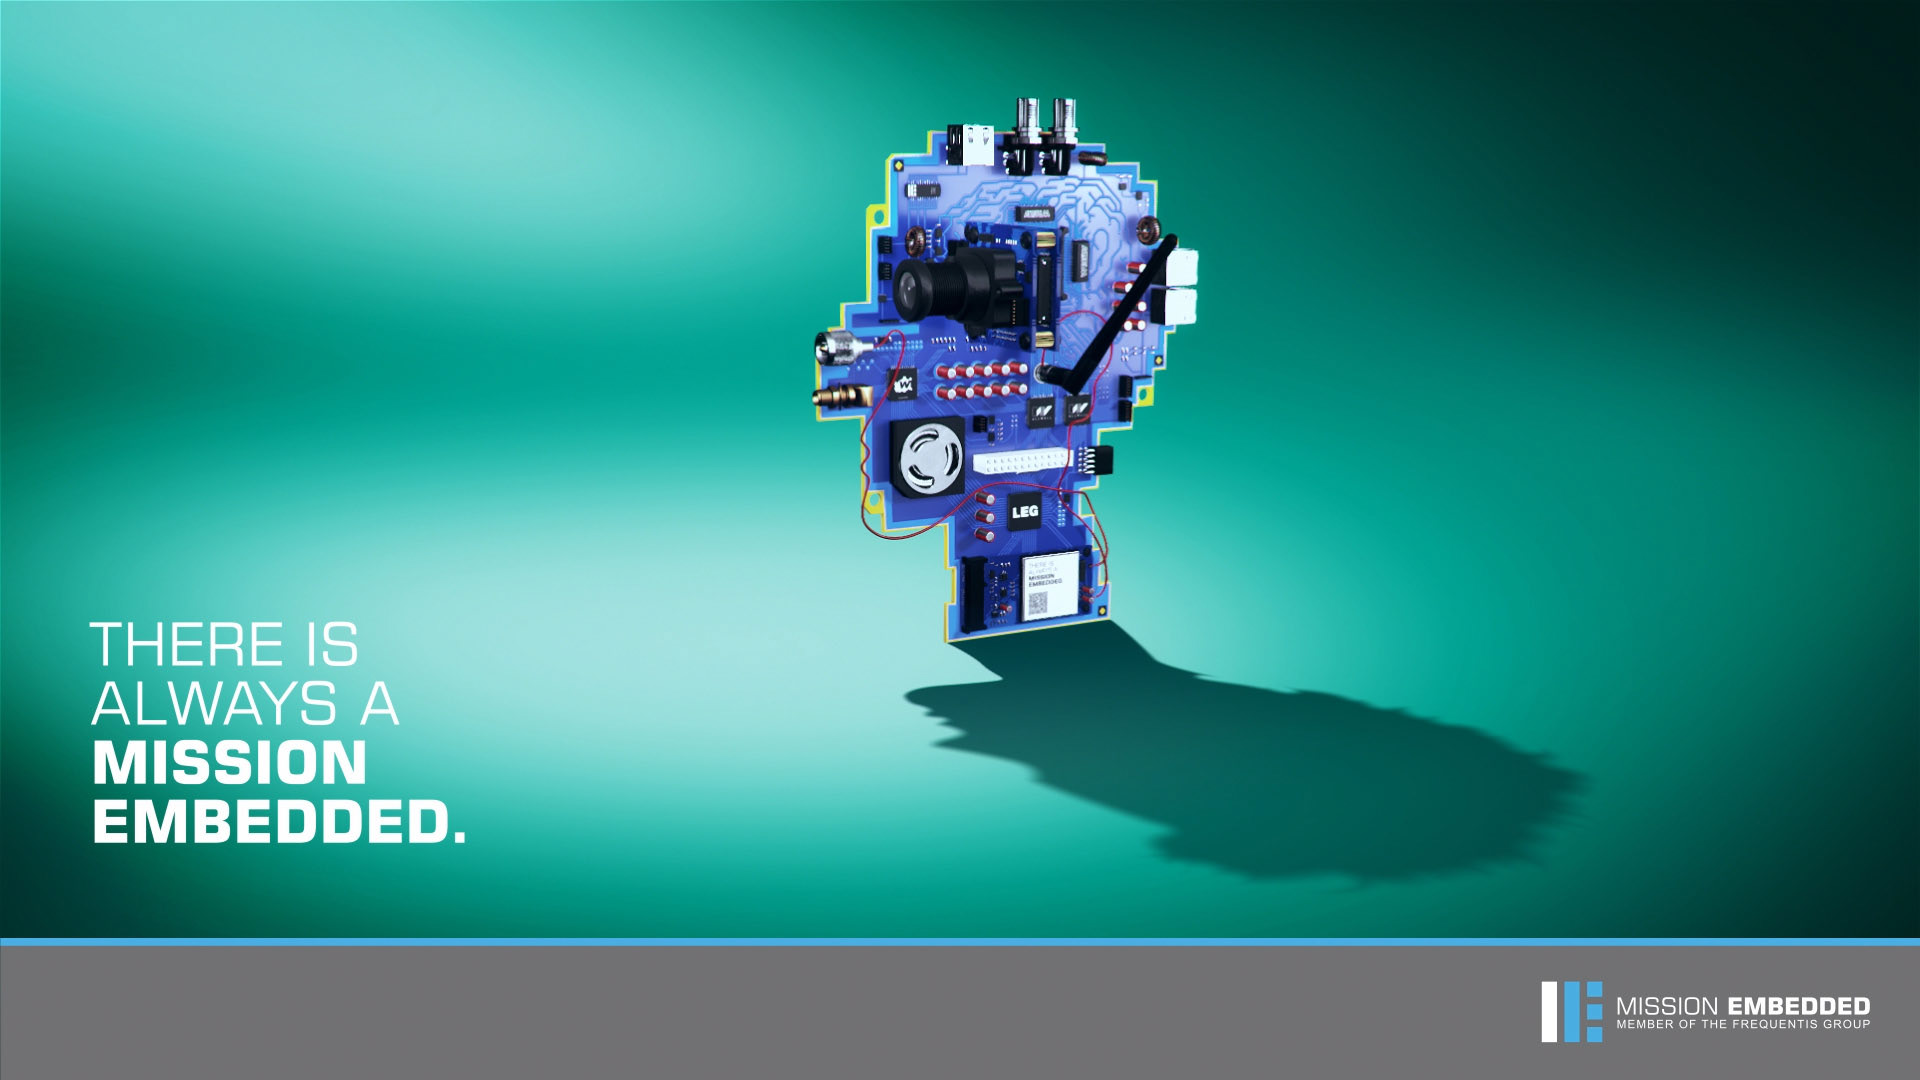
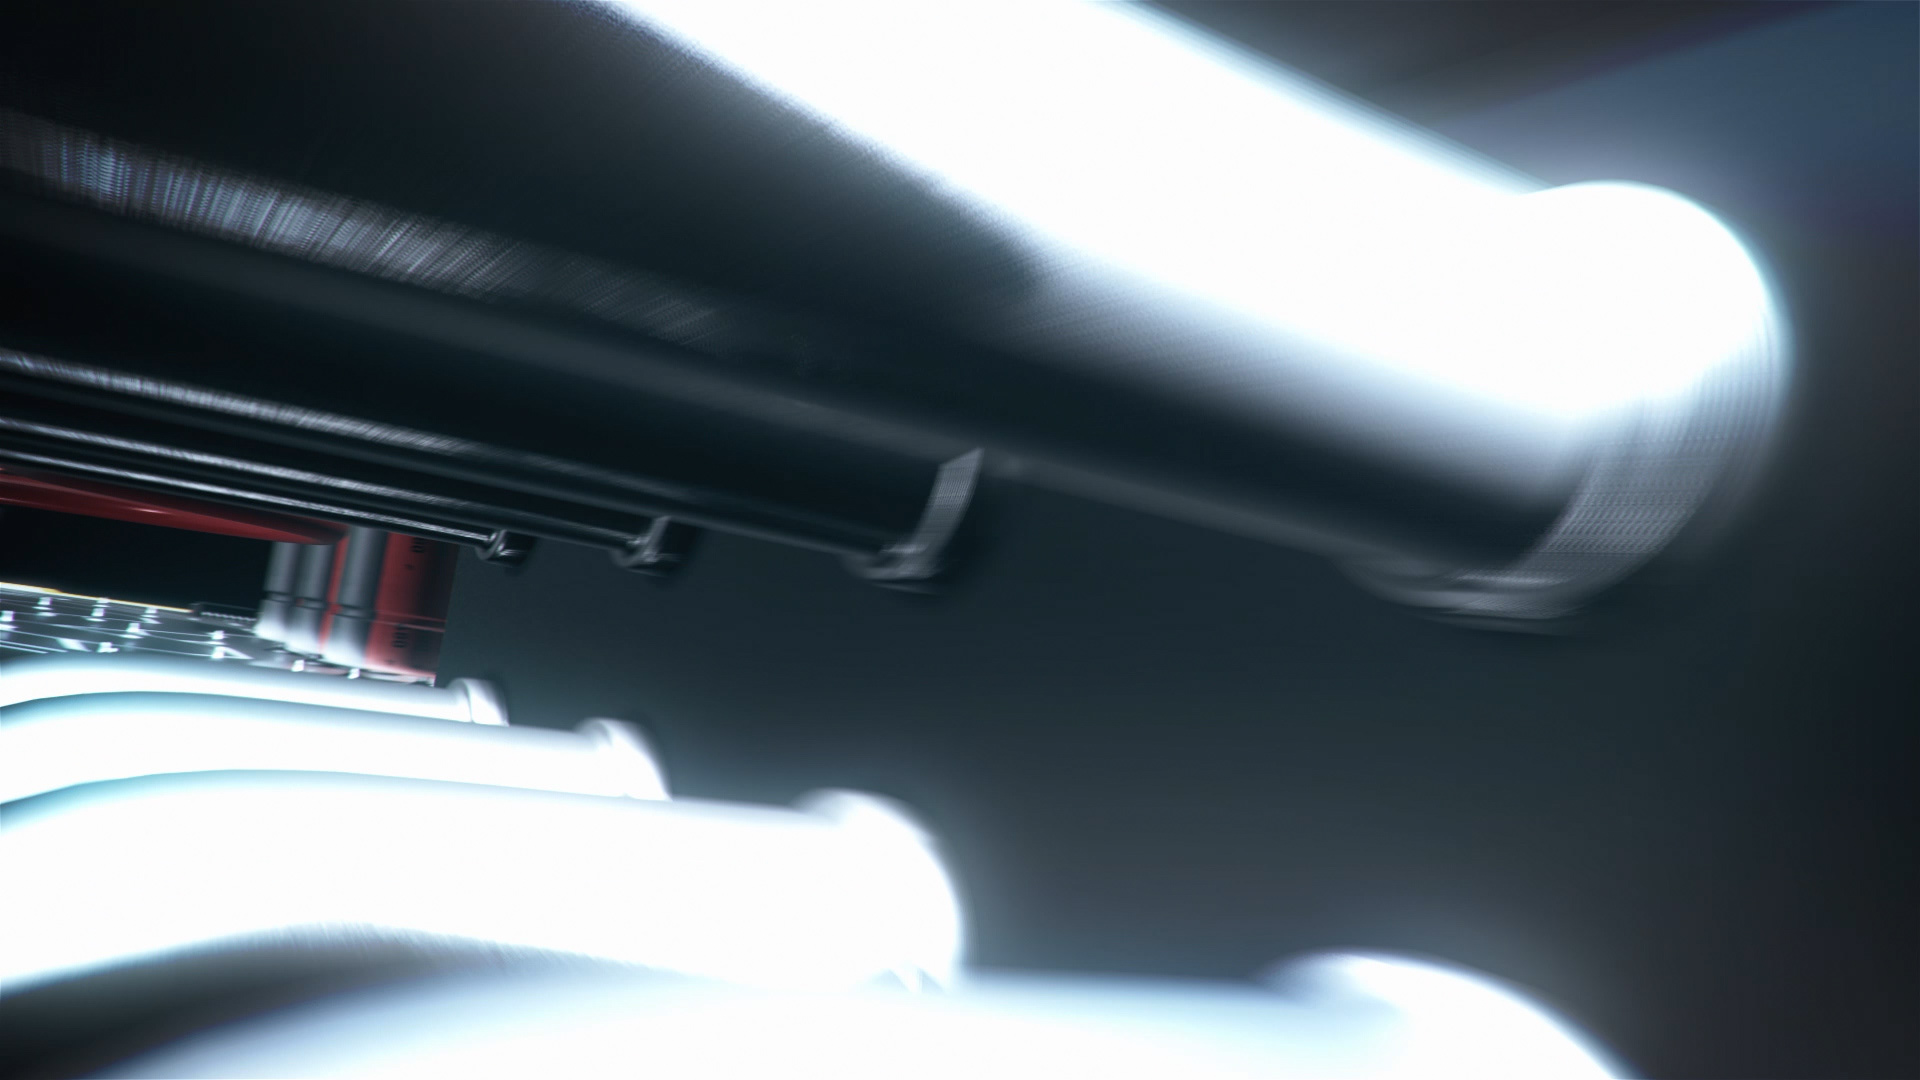
In the beginning the head had to look as close as possible to its print-campaign counterpart which is not the "coolest" with its color scheme and rendered using VRAY so I decided to go for a different look during the closeups. As it is a loop animation I started and ended with the print-look and switched it into a more gritty and dark look once the camera dives into the board. I rigged the lights and backgrounds to some sliders so I could not make any mistakes with the lighting for the beginning and the end as it was just one keyframe I had to adjust.

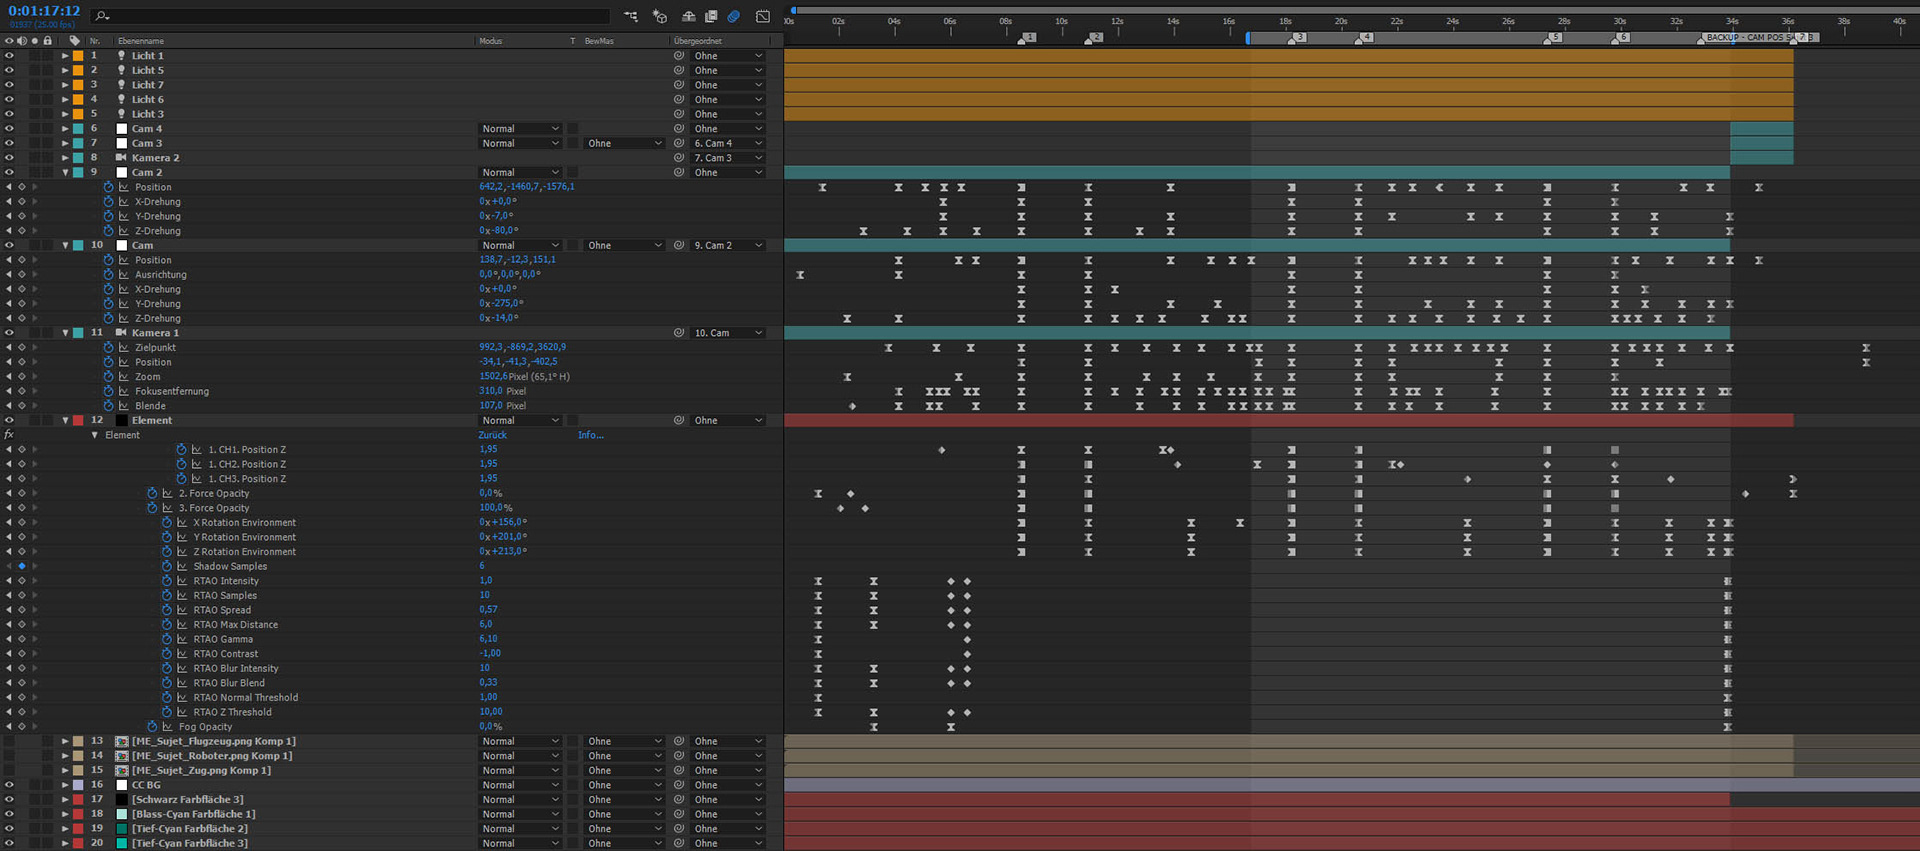
Dynamic AO and shadow samples
This one is a biggy! Fortunately it is possible in Element3D to animate the sample settings for almost everything. As the camera comes closer to the small parts, the settings for the shadows and the AO had to be adapted drastically to ensure a smooth conversion from far away and close up shots and to reduce flickering and render times.

Remapped
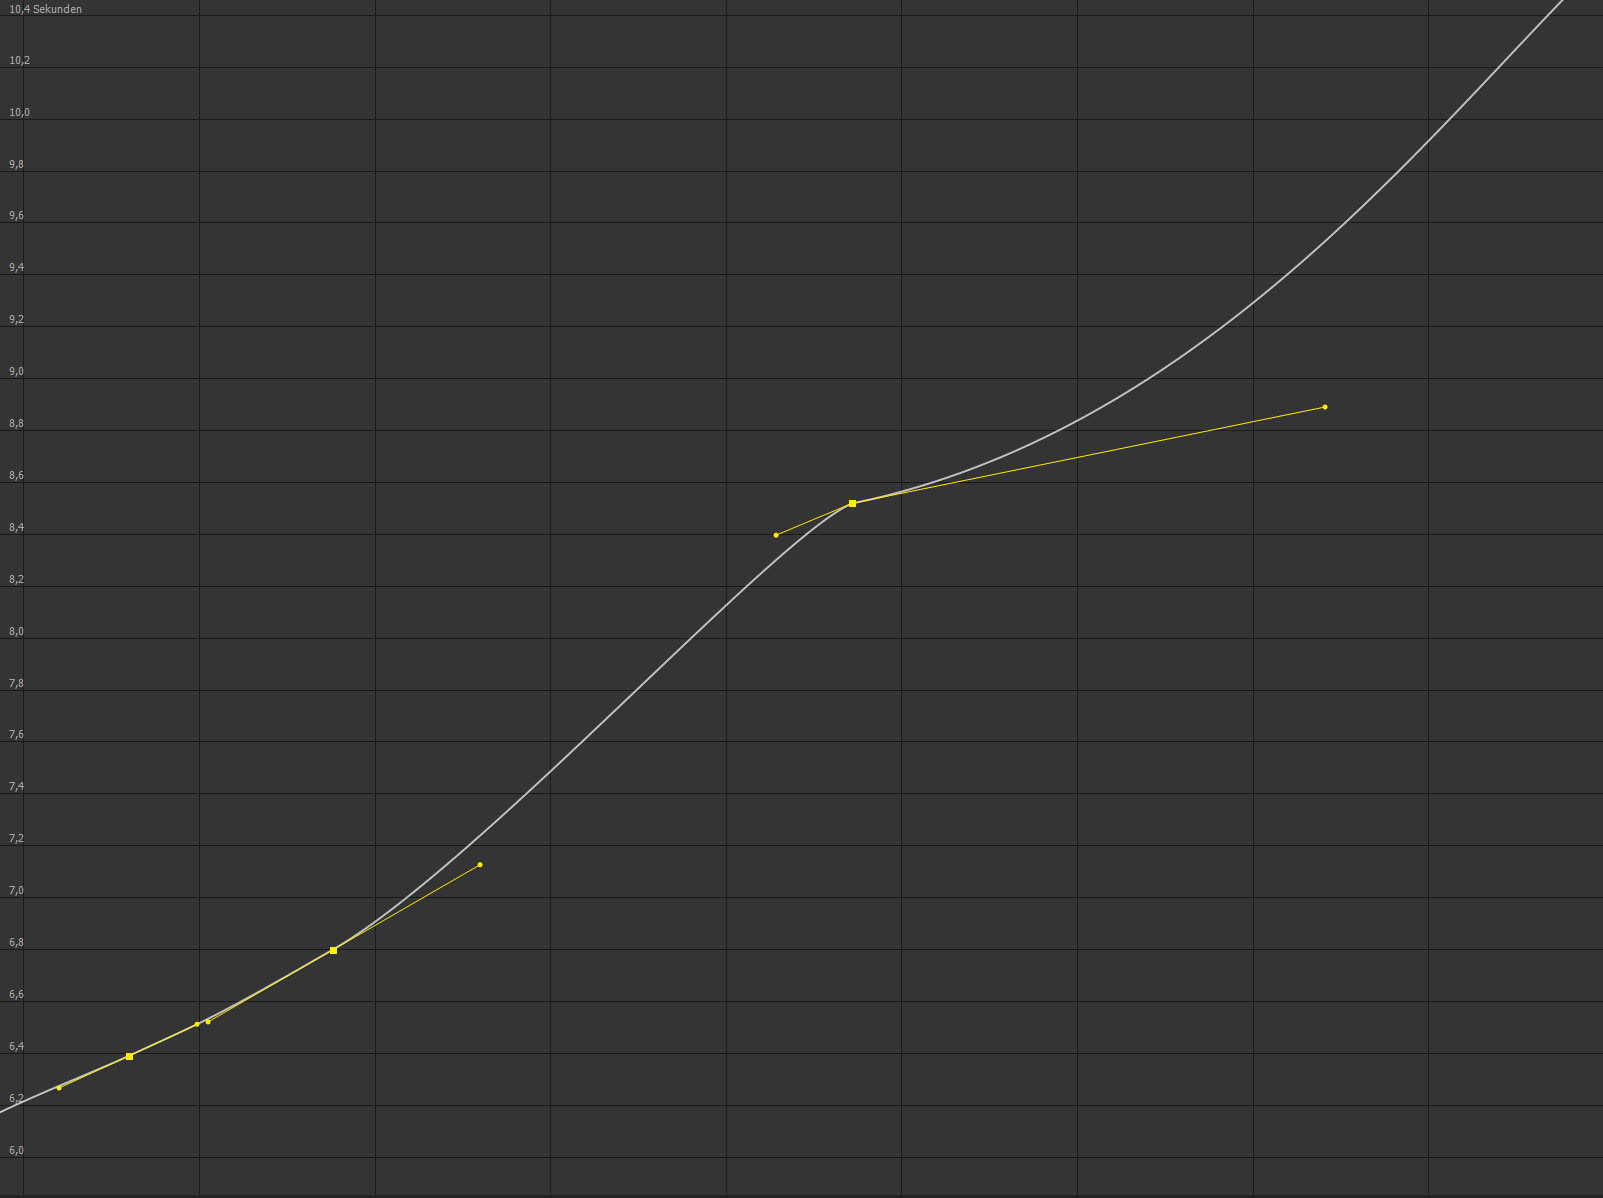
After that I worked on the timing and at this point I knew that I made the right decision. The camera is animated in a straightly timed manner, meaning that I used a five second timeframe for a given distance for the whole movie. I time-remapped the composition afterwards to time-stretch some corners and narrow fly-throughs and worked with the time-remap-curves to smooth it all out. With this method I could extend one second of animation to a lot more while staying perfectly smooth. This would not have been possible in the given time if I decided to make everything in 3D Max and render the thing.
Rendering
In comparison to a fully fledged 3D rendering in Max using Vray, Element3D delivered in record time. I cranked the settings as high as possible to still be able to make the deadline and only had to compromise on the DOF. It rendered in just under 20 hours with all the effects on top. Basically directly onto a server to be downloaded at the exhibition where it was shown. I had a blast doing this project and was really scratching the limits of the software but I had no crashes, no hickups, no nothing, which makes this combo, After Effects and Element3D, a huge time saver and for me the go-to solution for most things 3D.
